BUILDING A MOBILE OVEN


The fabrication process for MOMO started with steel beams, axles, and electrical wires for the trailer. The bricks are from Harbison and Walker, and the insulation is from Chiz Brothers in Pittsburgh–high compressive strength and great insulation. For the arch form, I cut old library shelves on the CNC router. I cast the lintel separately in a plywood form using old scraps of blue foam as the positive shape of the smoke chase and the flue transition. This lintel design was developed by Turtle Rock Masonry of Vermont. I decided to go with a simple, old school kiln-style damper using 3/8" thick metal for the frame and damper insert. It will ensure that the steam generated by the dough stays contained in the oven's atmosphere. I used KS4V-Plus concrete, another Harbison and Walker product, to cast the flue opening. I recommend using a concrete vibrator to drive all the air out of the mix once it is in the form, and don't forget the stainless steel needles–1 lb per 55 lb bag. To make the transition from the rectangular flue to an 8" diameter circle of the chimney pipe, I used a blue foam shape cut on the CNC router as the positive form and cast it in place. The wood around the foam matched the profile of the underside of the damper that was then welded into place. The idea of the pair of doors–one for firing, one for baking– came from Turtle Rock Masonry. Given all of the insulation and the height of the hearth, I had space for the door to drop down out of the way when not in use and to be lifted into place when time for baking. To do this I used a hidden counterweight system. I had some leftover KS4V-Plus and decided to add a layer on top of the brick to strengthen the arch. The arch would also now have the same amount of material as the hearth. Using a serrated kitchen knife, I cut the pieces of insulation and placed them around the oven. I welded the side panels from the inside. The insulated stainless steel firing doors are hung with simple hinges. A flange keeps them air tight, and I use the small sliding doors to modify the amount of air entering the firing chamber.
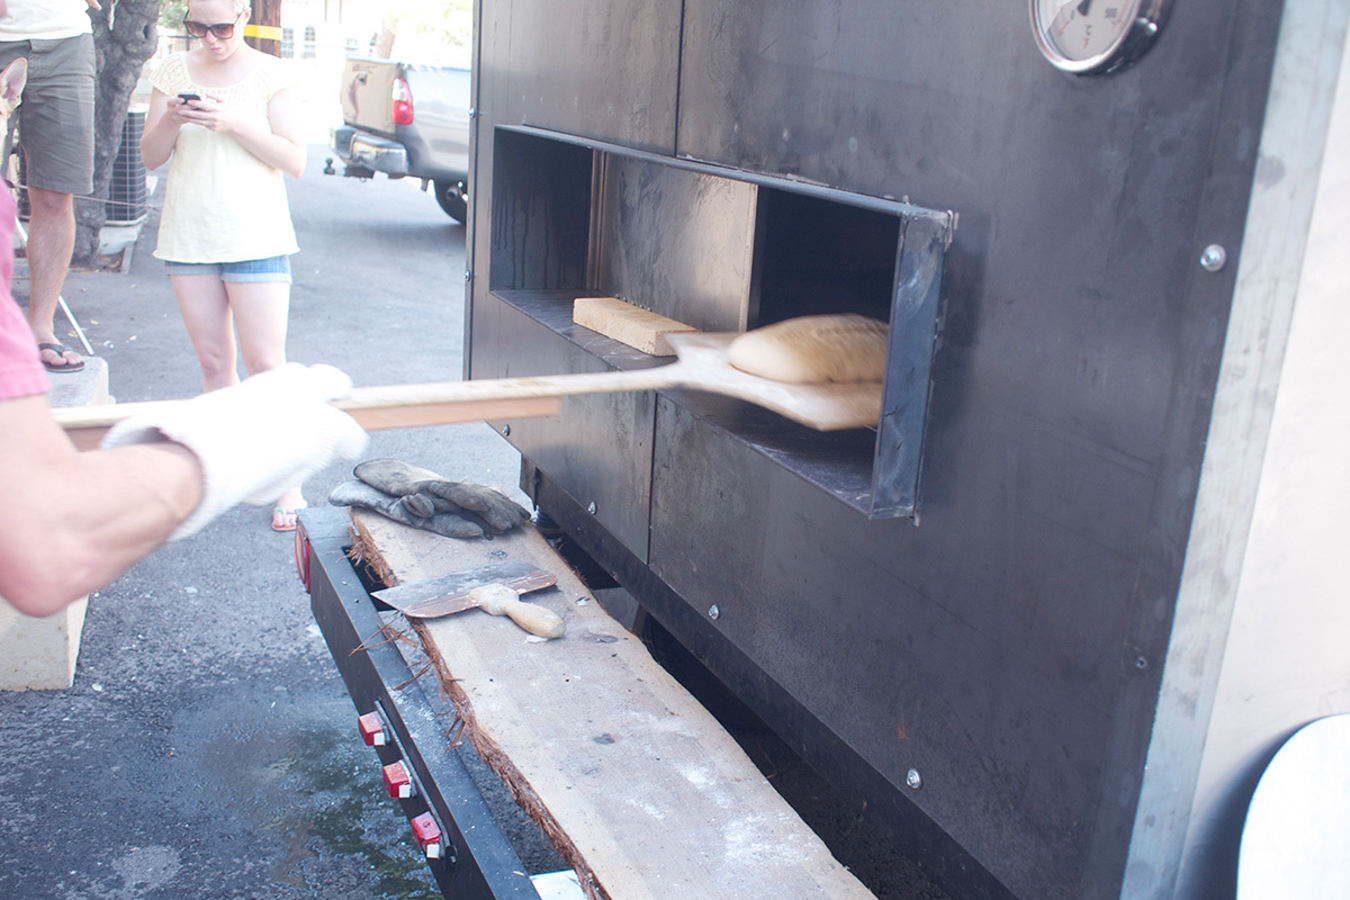
On ____, Mark Stambler and other members from the Los Angeles Bread Bakers showed up for the first bake. Many people from the neighborhood stopped by and tried bread and hung out for the baking. Long elongated loaves became round boules from the intense oven spring. The flap doors in combination with the damper worked great to keep the steam in the oven. I was beginning to wonder if the oven was too small, until I baked and then realized that it was huge. Four days after the coals came out of the oven it was still at a temperature of 300 degrees…amazing!


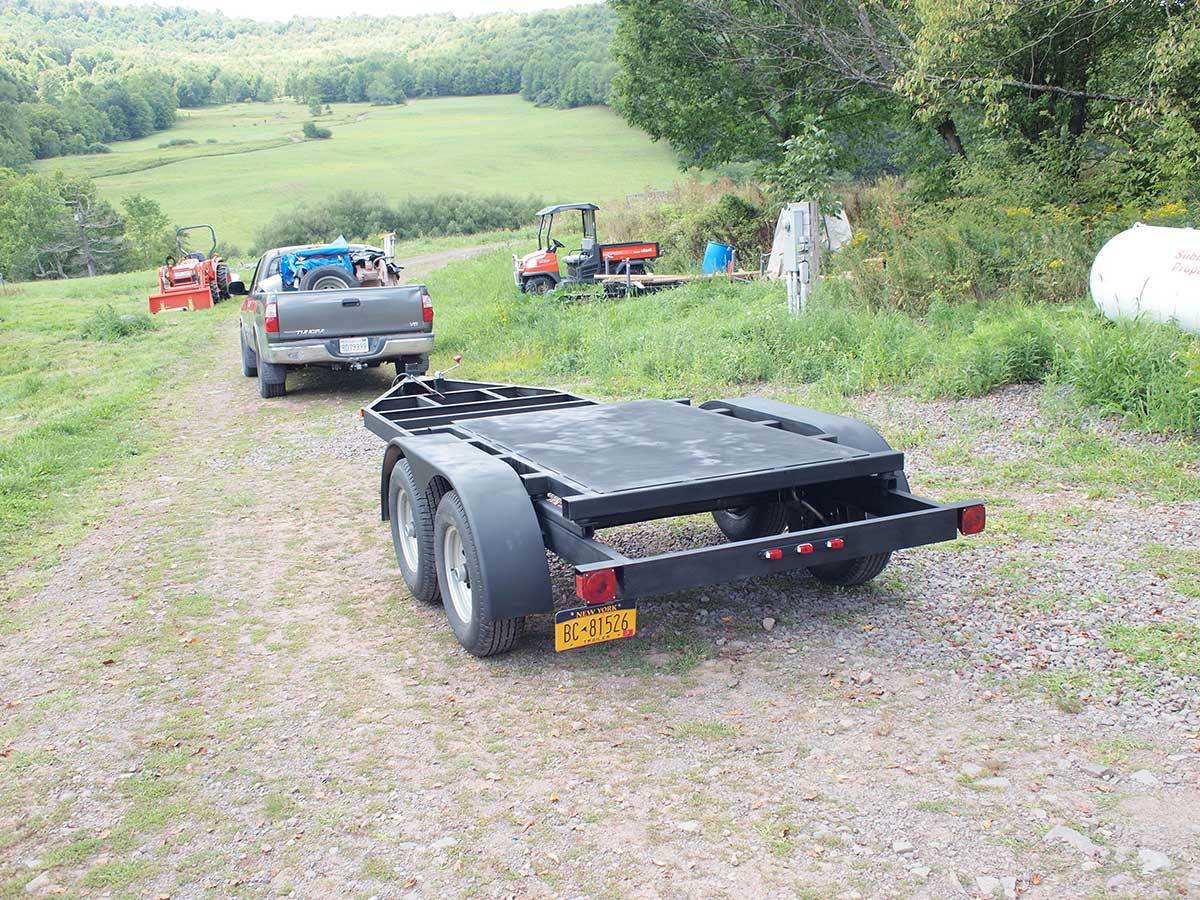
Trailer Build for M.O.M.O.


Back in California and Altering Suspension
Platform required rethinking by the time I returned to California.


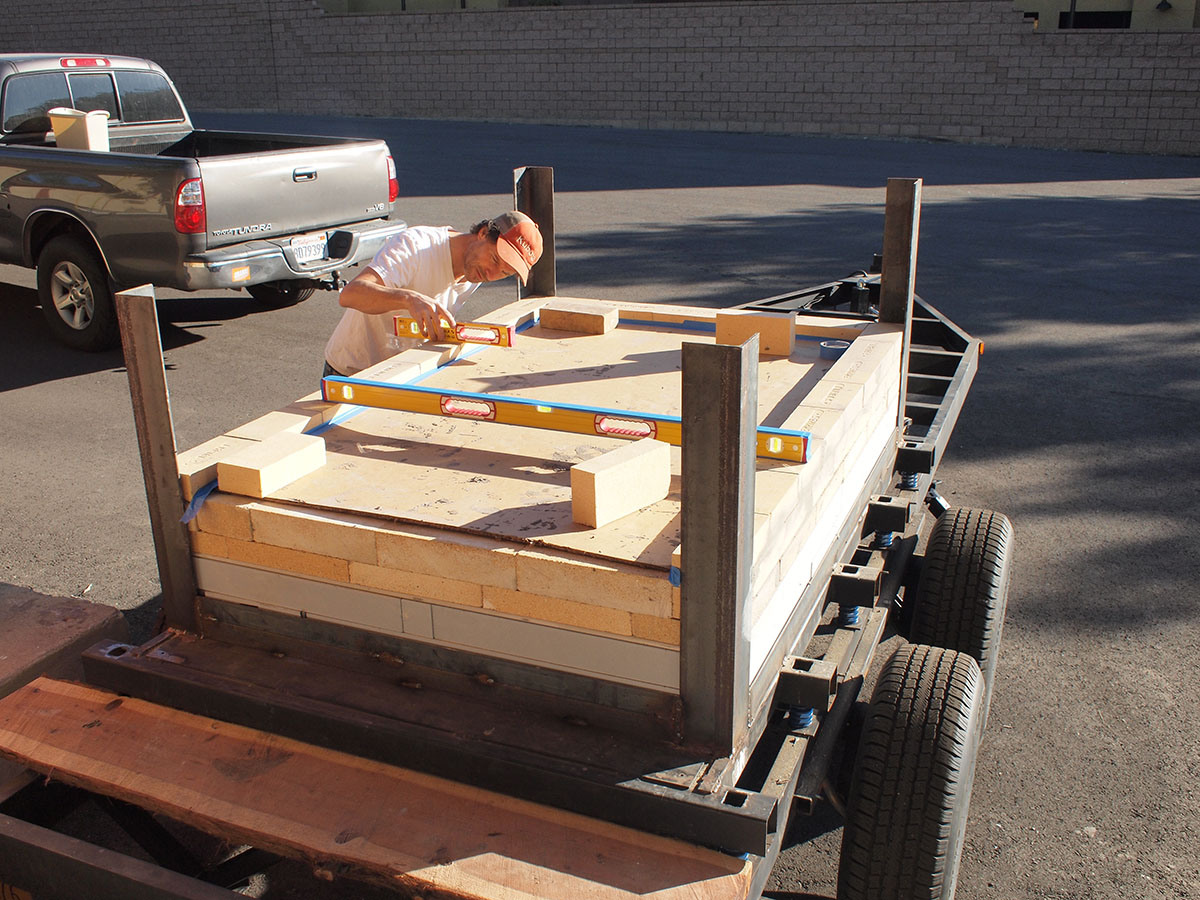
Materials and Initial Layers
Lots of bricks from Harbison and Walker. Insulation from Chiz Brothers... very high compressive strength and great insulation.

Oven Build
Building up side and back walls…trying to keep things mostly straight and plumb.


Harness and Loader Design
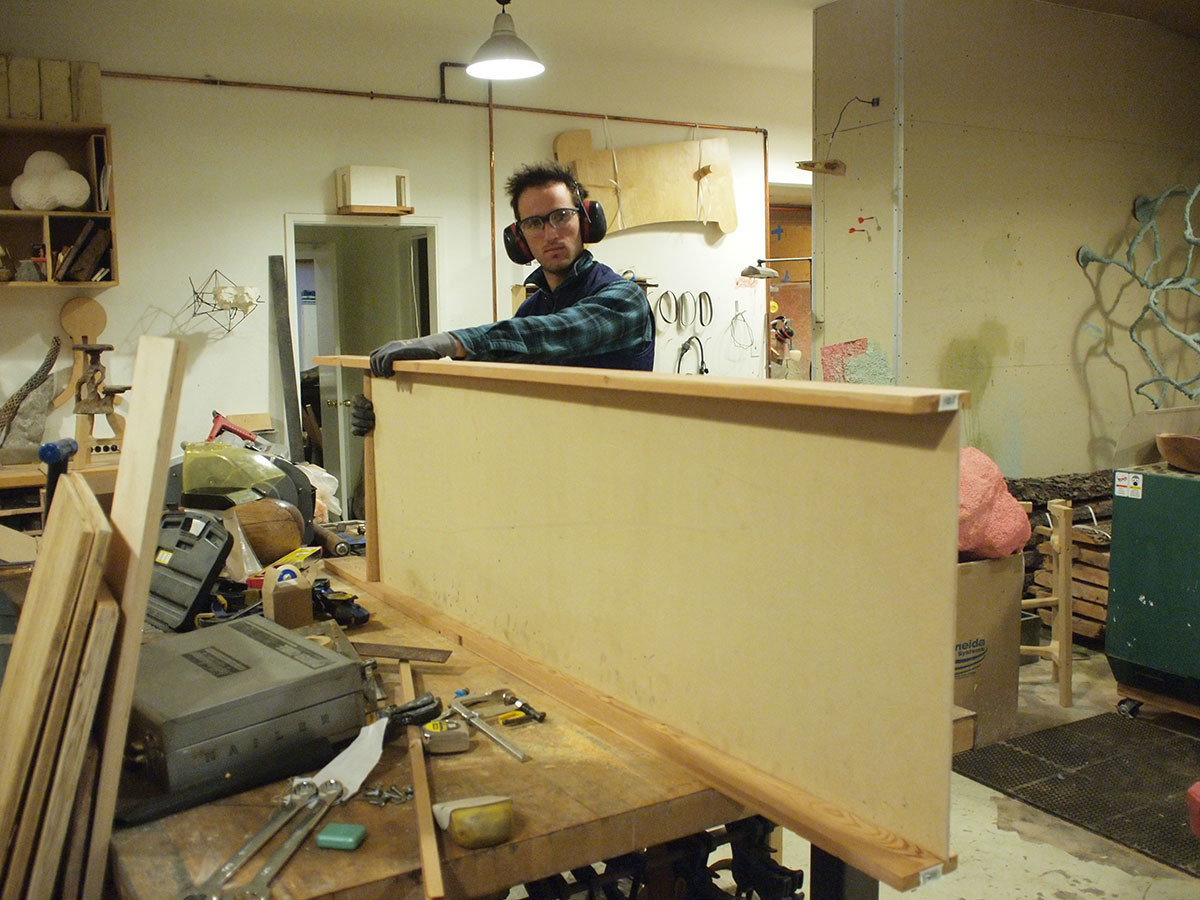
My friend Sam Starr returning to Pomona to help me out with some crucial design issues and rebuild. Decided to wrap the entire masonry in isol paper to keep the heat of oven from transferring into the metal – or at least slowing it down. Sam also got the dough loader design on track. Huge help.


Arch
Made from old library shelves and cut with the CNC router, this is the nicest form I have built for an arch.

Front Arch Layout
Laying out the front arch that will accommodate a chase for the smoke to transition to the chimney flue. Both sides of the brick will be carved.


Lintel Layout and Mold
At first I was going to cast in place but then thought better of that. The blue foam is the positive version that i will use when casting the lintel. The lintel design I am using here was developed by Turtle Rock Masonry of Vermont. William makes beautiful ovens and I think that the cast lintel solves many of the issues that the Alan Scott ovens face. I used a bunch of scraps of blue foam and taped them together to form the requisite shape of the smoke chase and the flue transition.


Lintel in Place
Pre-cleanup view of transition arch and lintel. Made an inset in the mold for the lintel to accommodate the angle iron support.
Damper
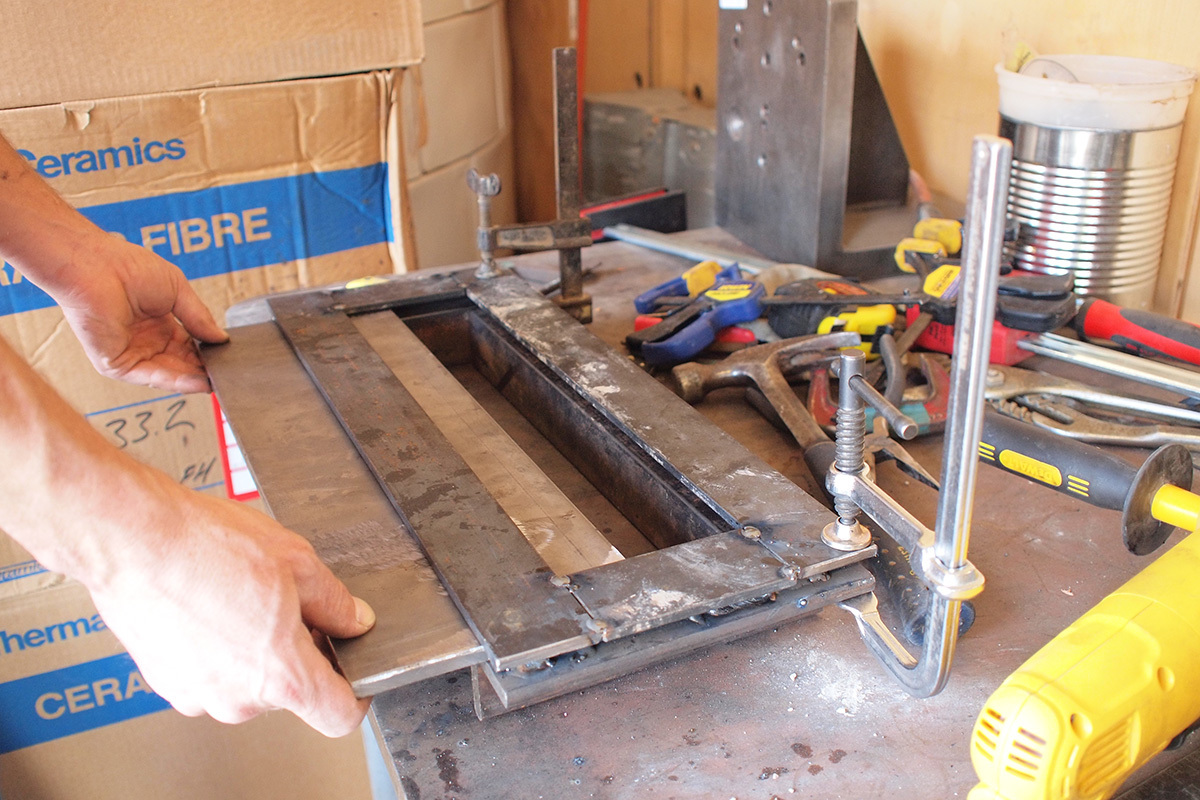
I had a complicated damper system all thought out and then decided to go with something simpler, an old school kiln style damper. I'm using 3/8 inch thick metal for the frame and the damper insert. Hoping that this will endure the heat okay… so many calculated guesses in all of this. The idea with this is to ensure that the steam generated by the dough stays contained in the oven’s atmosphere.

More Damper and Chimney Work
First step, make a frame around the flue opening and plug it. I am using another Harbison Walker product – KS4V-Plus (they need to hire someone to come up with some cool product names). KS4 was recommended but not available. The amount of water in the mix is surprisingly low – follow their recommendations. I recommend using a concrete vibrator to drive all of the air out of the mix once it is in the form and using about 1lb of stainless steel needles per 55 lb bag.

Foam Positive in Negative Space of Flue
The chimney ends with an off the shelf dura-vent chimney pipe, but to get to that I need to make a transition from the rectangular flue to an 8 inch diameter circle. Using the 3D CAD program Rhino I drew the object and outputted it to the CNC router for milling – a great transition over the course of 6 inches. The wood around the foam matches the profile of the underside of the damper that will then be welded into place. The wood frame keeps everything open and insures I get a good casting.

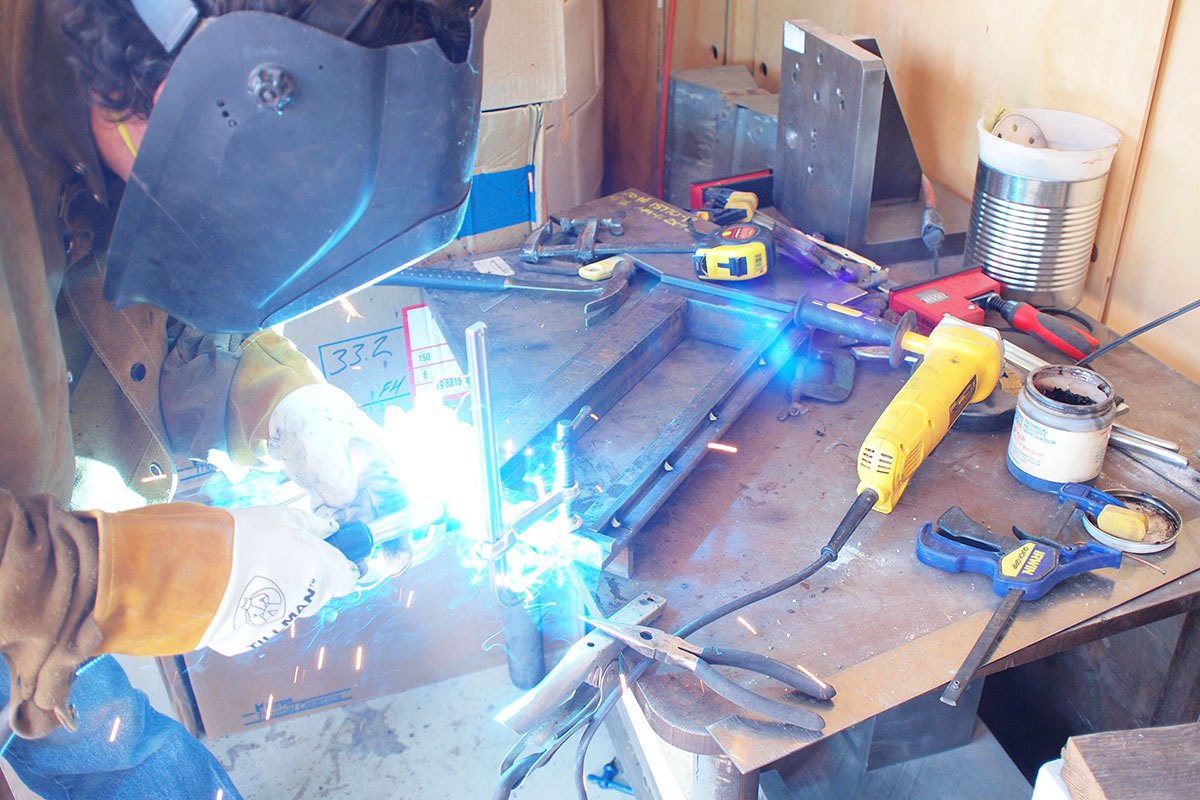
Chimney Frame and Damper in Place
The damper was welded to the frame that contained the first casting. Using 14 gauge steel and a plasma cutter, I cut the parts of the chimney frame and welded it up including a notch to accommodate the extension of the damper. Inserted the foam plug into the damper to keep the casting where I want it and double stick tape to keep the negative space of the flue in place.


Casting the Chimney
Casting the chimney and setting in the dura-vent anchor plate. I had to cut the anchor plate in order to insert the concrete vibrator. Super important – note the viscosity of the refractory mortar and the stainless steel needles.
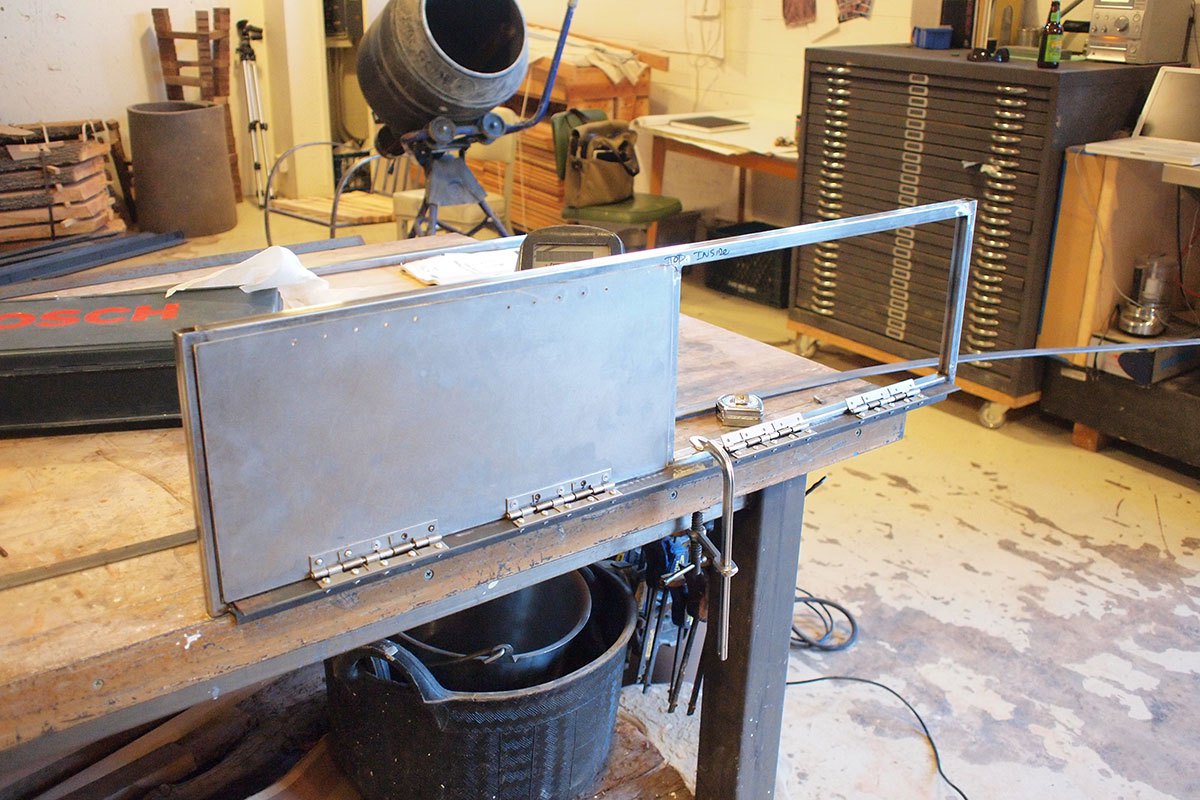
Baking Door Design – Three’s a Charm
The idea of the baking door is something i came across at Turtle Rock Masonry. They have made a number of different doors but I think that this one is really clever. The idea, at least what I can gather, is that they make a pair of doors – one for firing and one for baking. How they made them I have no idea, so what follows is my version. Given that the oven will be mobile, I want my baking door to be present when I need it and then hidden away. Given all of the insulation and the height of the hearth meant that I had space for the door to drop down out of the way when not in use and to be lifted into place when the time for baking arrived. I also wanted the transition from the passive to the active position to be easy. My friend Sam reminded me to use the counterweight idea we had talked about. I built and tore the door apart at least three times before I got what I wanted…and of course this is totally speculative… will it work…


Door Ready for Install
2 inch square stock guides the 1.75 inch steel rod counter weight. The stainless steel .060 thick flap doors were cut with a jump shear. The door is slightly heavier than the counterweights, so will drift down if not set with the latch pins. The final version has 3/32 cable to prevent it from jumping off the pulley wheel. Also note that on the lower half there is a plate that will serve to encase the door when it is in the down position.


Door and More
Ready for welding. The baking door is fully encased on the bottom half making it mostly air tight. The outer hearth will frame the outer doors and protrude through the rear wall. The patches are from a fix I needed to make to ensure that the door moves freely.


Arch Cap Casting
More refractory material KS4V-plus… had some extra and thought a bit more mass on top of the brick would be good for strengthening the arch. Now the arch and the hearth have equal amounts of material. Foil first. The concrete vibrator allows the material to settle and so pushes the air captured to the surface. Enough material for a healthy inch-thick cap.


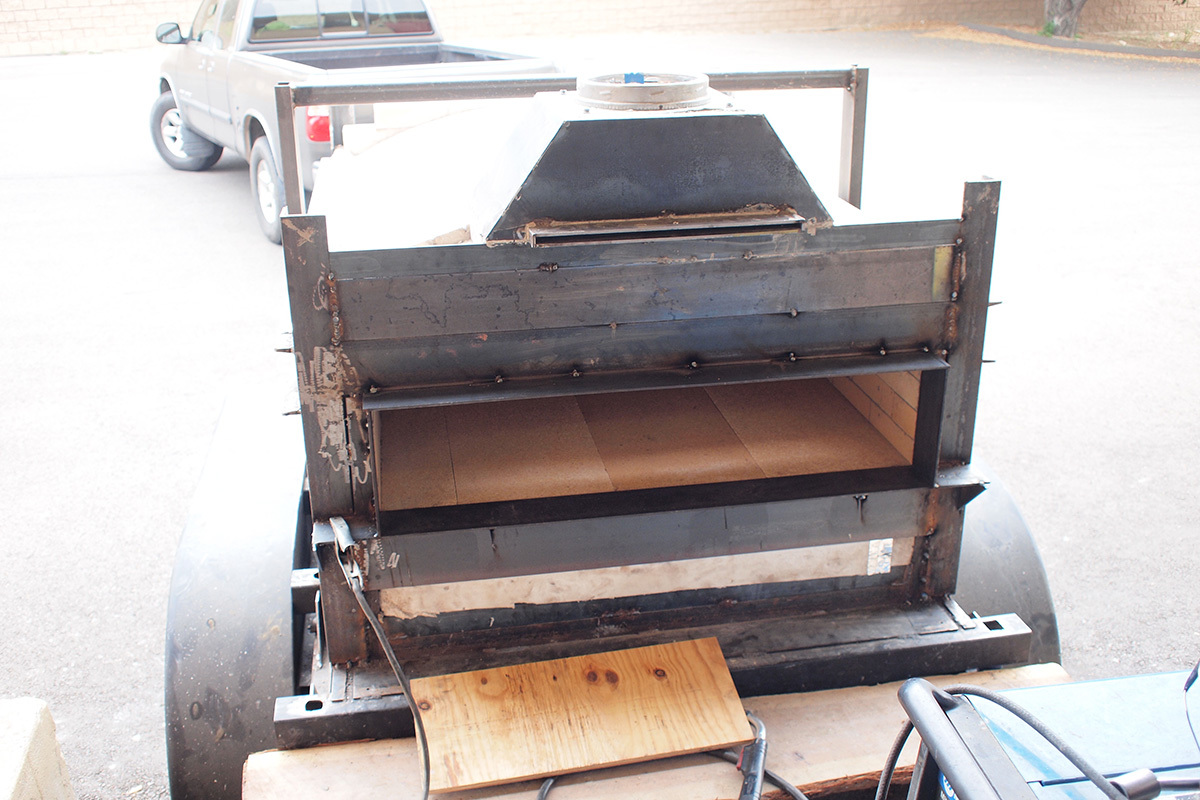
Insulation, Frame, and Side Panels
Insulation is a nasty business. Wear a respirator and eye glasses and cover all skin….and you will still be itchy at the end of it. Cold shower afterwards helps to tighten the pores and keep the insulation from burrowing in. This is good quality insulation, 8 lb. 2 inch thick. The thickness does not matter much but the thicker the insulation, the fewer pieces you handle. I used a kitchen knife (serrated are the best) and a straight edge to make the cuts. Worked great. A frame wraps around the entire oven held up by gussets and a couple of cross braces. This frame will support the insulation and the side panels. Side panels were welded from the inside to keep the look clean and the bottom edge of the metal .060 slips over and registers to the bottom edge of the frame. The idea being to limit the amount of water that might get inside. This metal shell allows me to start using the oven.

Damper and Other Business
Need to reach the damper from the outside, so that meant an extension. And yes, I walked into the pointy end of my temporary damper handle. I modified the exterior hearth so that just a clean frame sticks proud of the back surface. The gauges were inserted from the interior side to make them cleaner looking. Then finally to cap all the mess.